The Build Range Dialog
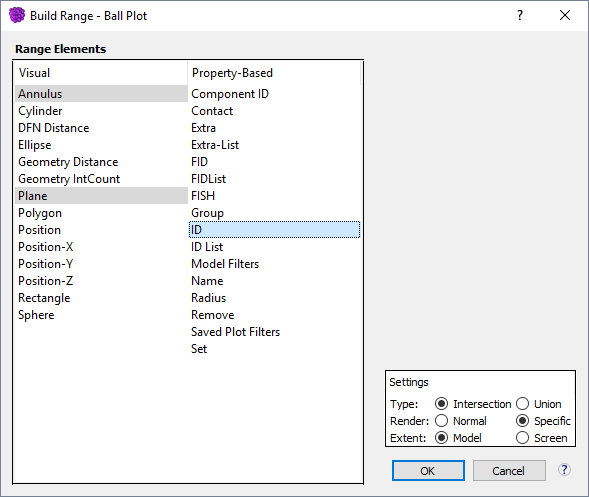
Figure 1: The “Build Range” dialog. Items selected from the list at left are added to the range. Multiple elements may be selected and added using the Ctrl key.
Add a range element: click an element from the list to select.
Add multiple elements: to add elements two through n, press Ctrl while clicking each successive element to be added.
Settings
Type - a range is either a logical union of all its elements or a logical intersection of all its elements, as specified here.
Render - while displaying the range, the plot item it affects may either be rendered normally or using a “range-specific” render mode — which will often (though not always) yield faster rendering and more responsive interactions with the range. Another difference in these settings is that in “normal” mode, parts of the plot item lying outside the range are immediately hidden from view; in “specific” mode, those parts are still visible but rendered with transparency.
Extent - filter elements, when added, will have their default extents calculated from the current “Model” size or calculated according to the size of the current view on the “Screen,” based on this setting.
When is pressed in the dialog, the selected range element(s) are added to the range and listed beneath the “Range” item in the “Plot Items” list.
All of the operations/settings available in the dialog are accessible and editable via the i Plot Items control set after the dialog has been used.
| Was this helpful? ... | FLAC3D © 2019, Itasca | Updated: Feb 25, 2024 |