Highlighting Groups
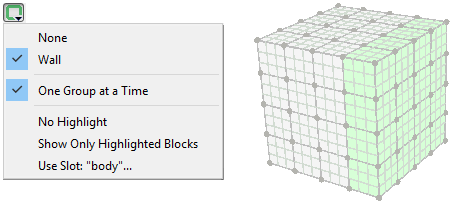
The Highlight Groups tool button ( ) holds commands for highlighting points, edges, faces and blocks in green. It also has a command for showing all the blocks and only the blocks in the specified group(s).
When you assign a group name to any object, that name shows up in the menu of the Highlight Groups button. When you place a check mark next to that name in the menu, the objects with that group assigned will be colored in green.
There is always a menu item named “None”. When you check this item, all objects that have no group assigned will be highlighted in green.
The menu item “One Group at a Time”, when checked, will allow only one group to be highlighted at a time. When unchecked, multiple groups can be highlighted simultaneously.
The “No Highlight” command will uncheck all the group names and remove the green highlighting from all objects.
“Show Only Highlighted Blocks” will hide all the blocks that are not in a highlighted group and show all the blocks that are. Then it highlights all the visible blocks.

Assigning a Group Name
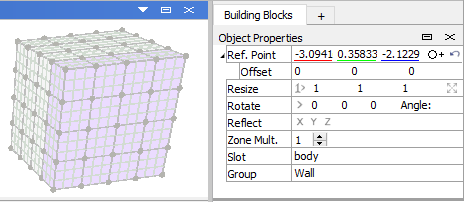
To assign a group name, first select some objects, then type the group name into the Object Properties control set. The name “Wall” is added in the picture below.

You can specify the slot that the group gets assigned in by first entering a slot name on the line above the group name, then entering the group name.
Seeing Groups in the Model Pane
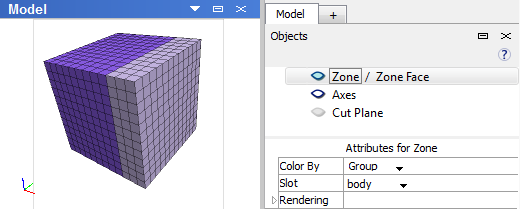
When you assign a group to an object, the group is assigned in a slot, the default slot being “body”. All the groups in that slot are shown in the Highlight Groups menu. The slot can be used in the Model pane’s Objects control set to display zones by their building blocks group name.

| Was this helpful? ... | Itasca Software © 2024, Itasca | Updated: Nov 12, 2025 |
